So lets started and lets get you a development environment.
Step 1 – Download the XAMPP installer
Head over to the
Apache Friends website and download the installer. Download XAMPP for Windows. This is what we will be using in this blog. Download file size is around 124 MB.
Step 2 – Run the XAMPP installer
Once you run the installer, you will see Windows User access control asking for permission to go ahead with the installation. Click Yes and to start the installation process.
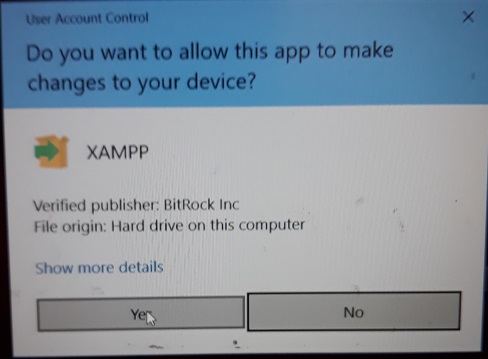
XAMPP installation on Windows 10 – User Access Control Screenshot
Step 3 – Anti Virus Warning
Now you will see an anti-virus warning. You can disconnect from internet and temporarily disable the internet. Before clicking on Yes.
I have Norton antivirus running on my system. I decided to ignore this warning and continue with the installation.
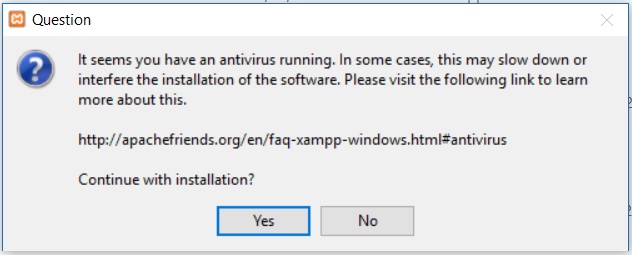
XAMPP installation on Windows – Anti Virus warning
Step 4 – User Access Control Warning
You you will see a warning related to User access control being turned on. To get around this, we will have to install XAMPP in the root C directory instead of Program Files(x86) directory. Click yes to continue
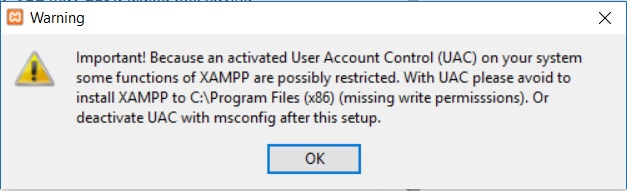
XAMPP installation on Windows – UAC Warning
Step 5 – Welcome to setup wizard
Now you will see the actual setup wizard. Click next to continue.
XAMPP installation on Windows – Setup Wizard
Step 6 – Select Component
In this dialog box you have to select the components to install. I generally uncheck perl, tomcat, Filezilla and Mercury Mail server. But since you are starting put, leave everything as it is and click on next.
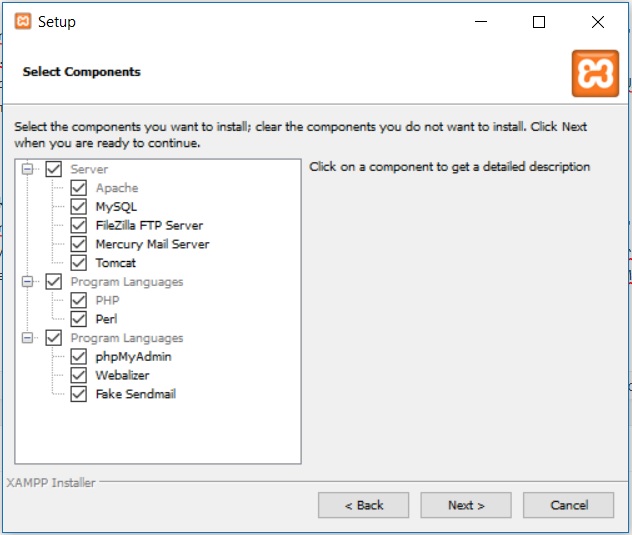
XAMPP installation on Windows – Select Component
Step 7 – Select Installation Folder
Select the installation folder. Leave it as it is. If you plan to change this folder, please do not select Program Files directory. It will result in problems later on because these folders have certain restrictions imposed by Windows.
To be on a safe side, leave it as it is and click next.
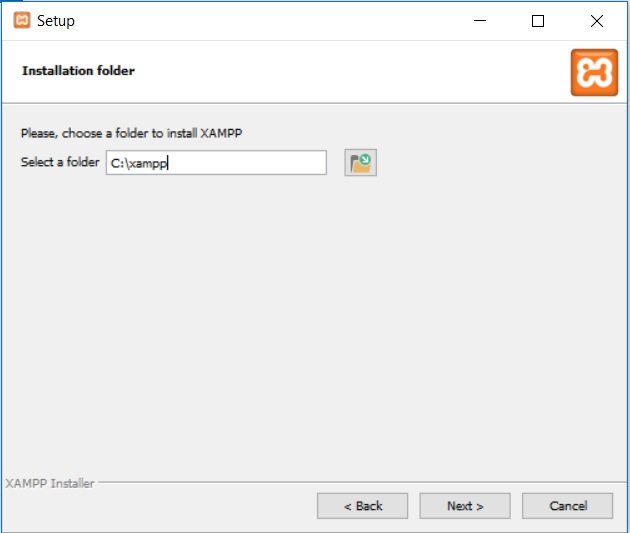
XAMPP installation on Windows – Select Installation Folder
Step 8 – Bitnami for XAMPP
Bitnami provides free setup for WordPress, Drupal. But we can skip this for now. Click on next.
If you leave the Learn more about Bitnami for XAMPP, it will open a bitnami page in your browser after you click next. There is no harm in glancing over the page. Not necessary though.
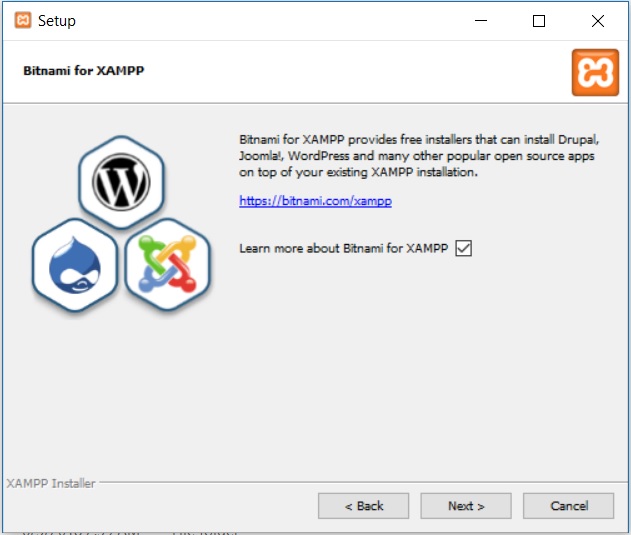
XAMPP installation on Windows – Bitnami for XAMPP
Step 9 – Ready to install
Now the setup is ready to install XAMPP. Click next to start the installation process.

XAMPP installation on Windows – Ready to install
Wait for the installation process to complete.
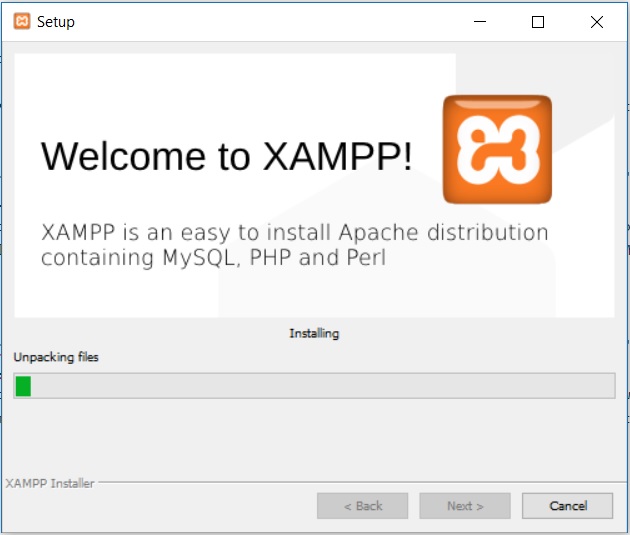
XAMPP installation on Windows – Installation in Progress
Step 10 – Installation Complete
Click on Finish to complete the installation. If you leave the “Do you want to start the Control Panel now? checked, XAMPP will start after you have clicked finish. You uncheck the box, you will have to start XAMPP manually.
Leave it checked for now and see if XAMPP starts successfully.
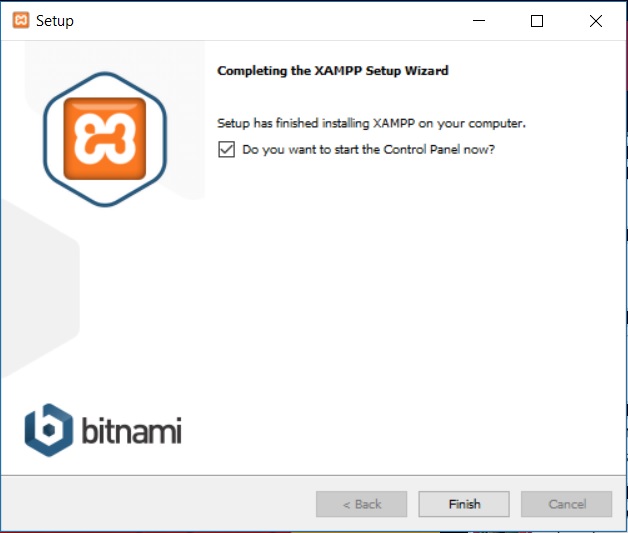
XAMPP installation on Windows – Setup Wizard – Installation Complete
XAMPP when it starts for the first time, it asks for application language. It for XAMPP only and not for PHP, MySQL etc..
I selected english. You can chose yours and clock on save. You have just two options anyways.

XAMPP Installation – Select Language
XAMPP should start now.
In the taskbar, you will see XAMPP icon. Double click to see the control panel.
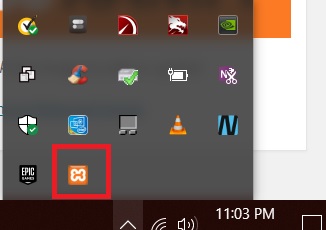
XAMPP Icon in Windows taskbar
Step 11 – Fix errors displayed in XAMPP control panel
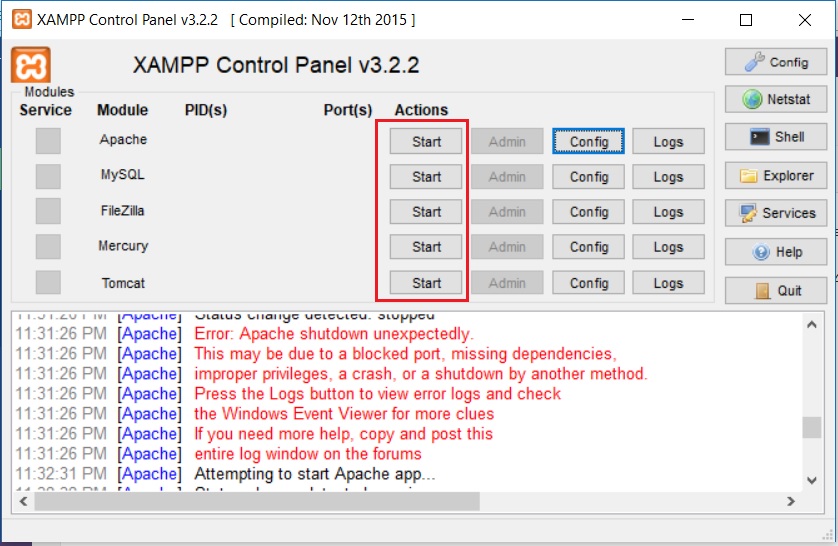
I have noticed that I always have a conflicting port problem for Apache server. You can see it in the XAMPP Control Panel.
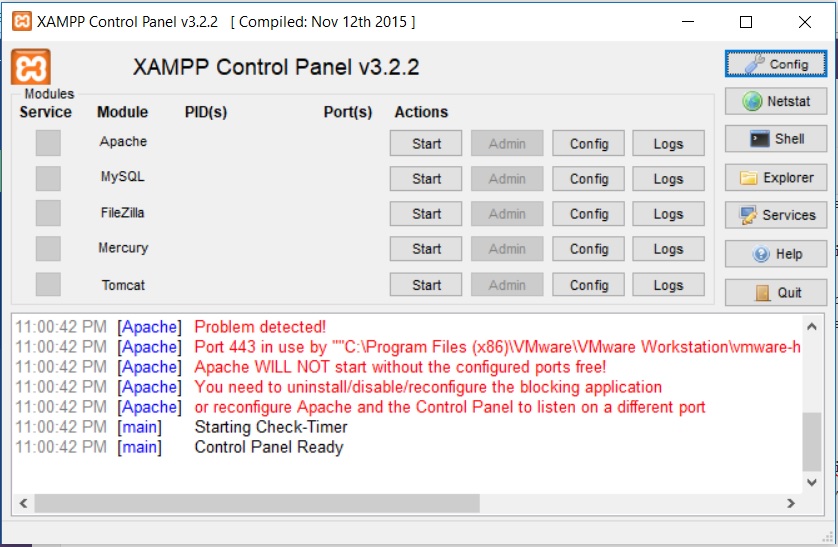
XAMPP Control panel displaying issues
In the above screenshot, you will see that there a conflict with port 443 which is currently being used by VMware. For me it’s VMware, for you it might be something else. To fix the problem, lets change the SSL port 443 to something else.
Step 12 – Change default ports for Apache server
To do so, click on config and then you will see Configuration of Control Panel dialog box which is displayed side by side in the below screenshot. Click on Service and Port settings as shown in the below screenshot.
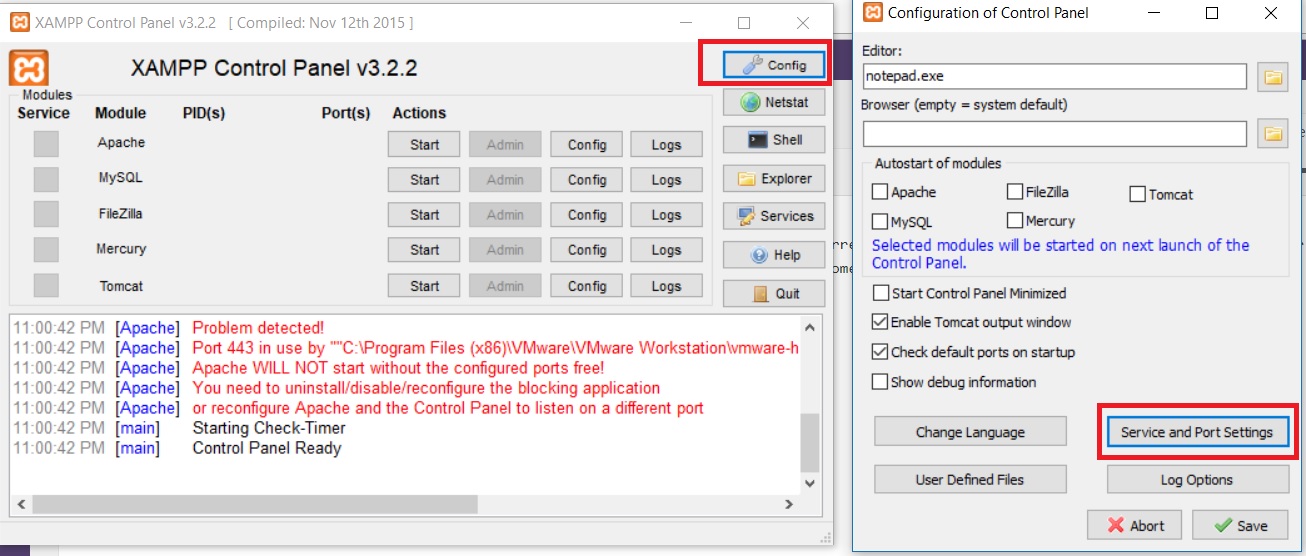
XAMPP Control Panel – Config
You will see Service settings dialog box. Change the Apache SSL port from 443 to anything such as 4443. Whatever the port number you choose, please remember it. We will have to make the some more changes described in the below stepsClick save.
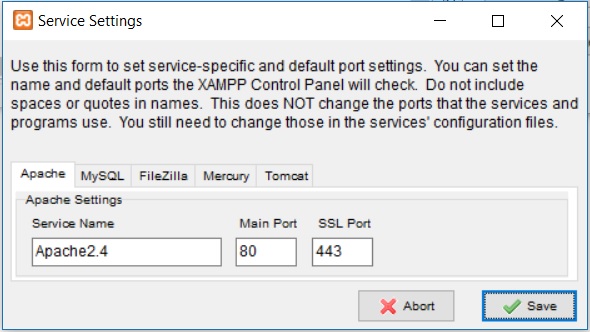
XAMPP Control Panel – Service Settings
In the above screenshot, you will see tabs for MySQL, TOMCAT, etc… You can click on the tabs and change the port number if these services show errors in the control panel. If you don’t see errors for them, leave them as it is.
Now click on config shown next to Apache and again click on Apache(httpd-ssl.config)
This will open apache-ssl.config file in notepad.
- Search for “Listen” and change the port number to 4443, the same one we set above. It should look like Listen 4443
- Similarly search for VirtualHost _default_ and change the port number to 4443, the same one we set above. It should look like <VirtualHost _default_:4443>
Save the changes.
Step 13 – Start Apache, MYSQL and other services
Now on the XAMPP Control panel, click on start against each of the Modules such as Apache, MySQL, Tomcat, FileZilla and Mercury.
XAMPP Control Panel – Start Service
If everything goes well, you will see that all the services has started with each module highlighted in green. You can also see the port on which they are running.
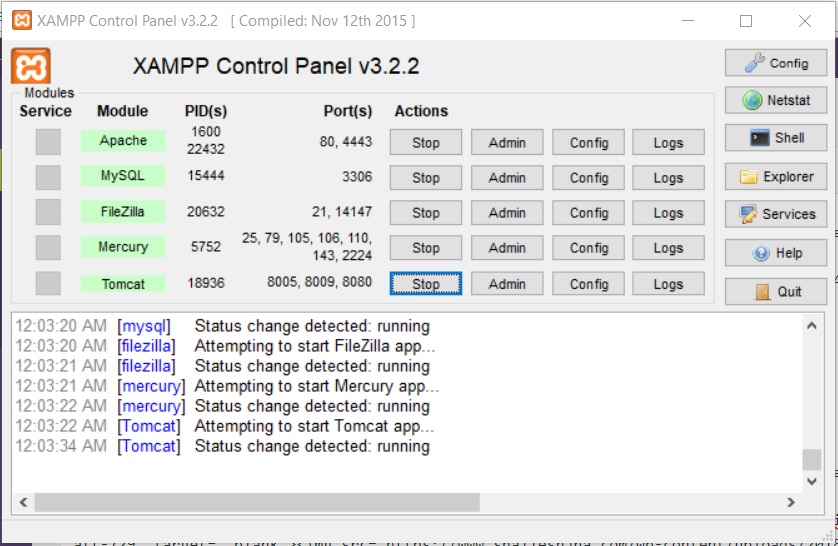
XAMPP Control Panel – Services Running
Step 14 – Open localhost in browser
After all the services have started successfully, open localhost (http://localhost) in browser.It should redirect to http://localhost/dashboard/ and you will see the default XAMPP page.
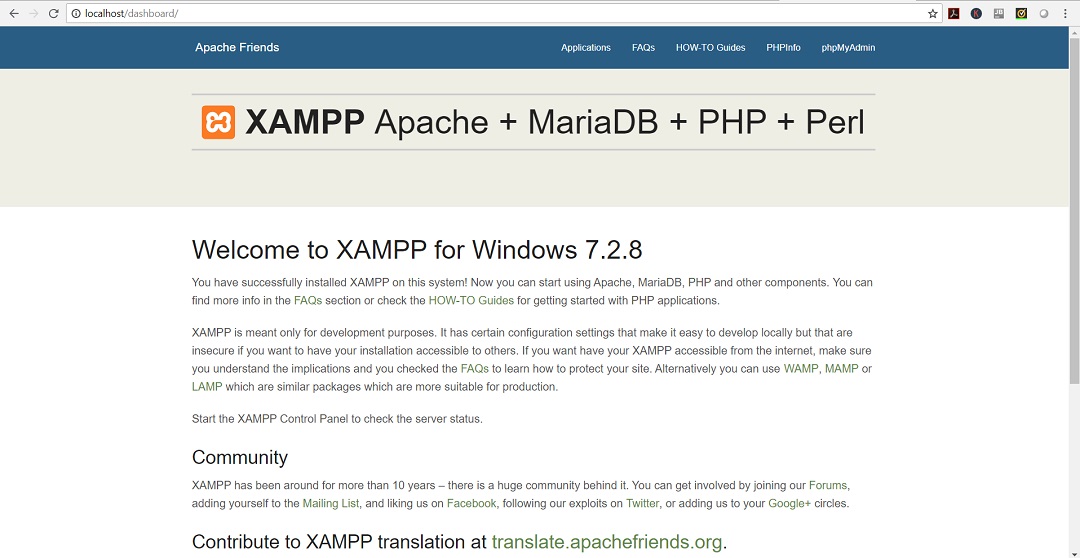
XAMPP localhost in Browser
Click on PHPInfo and phpMyAdmin on the menu bar to see php info and phpMyAdmin console.
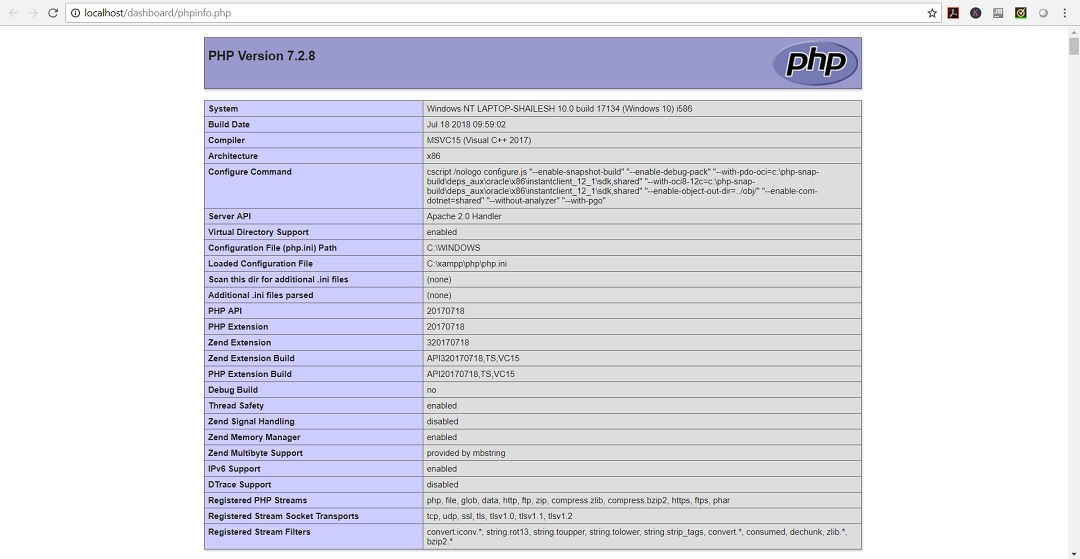
XAMPP PHPInfo webpage
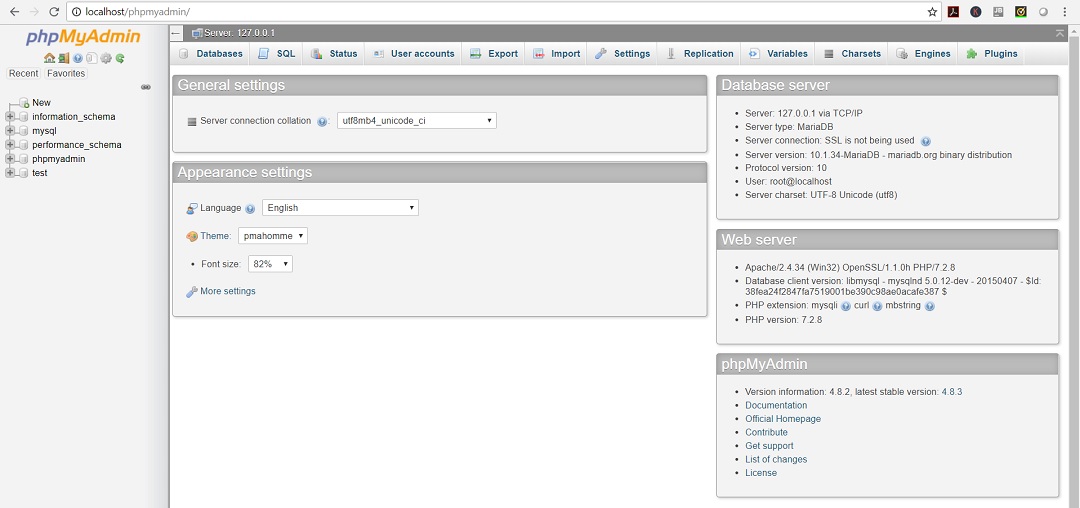
XAMPP phpMyAdmin web page
That’s It. You are ready to build applications on PHP.

Comments
Post a Comment