If You Can’t browse the web on any devices
If
all your devices, laptops, mobile phones, tablets, are connected to the
WiFi just fine, but have no Internet access, the problem might be your
network hardware or the network itself. Try the solutions below to fix
it:
Restart your modem, router and your devices
1) Remove the power cord and the batteries (if there are any) from your modem and router.
2) Wait for at least 30 seconds after the light goes out. Then plug the modem in.
3) Wait for another 60 seconds, then plug your router in.
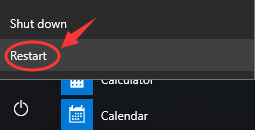
1) On your keyboard, click the
Start button and
Restart.
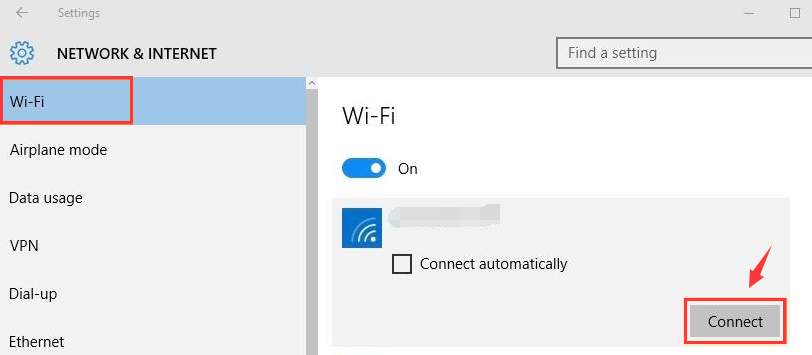
2) After your PC restarts, follow the path: click the Start button > Settings > Network & Internet > WiFi (on the left side of the pane). Select the network connection you have and click Connect.
If the problem persists, try contact your network provider or the manufacturer of your router.
Can browse the web on other devices but not on the laptop
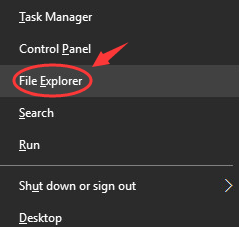
1) On your keyboard, press the Windows key and X at the same time, then click File Explorer.
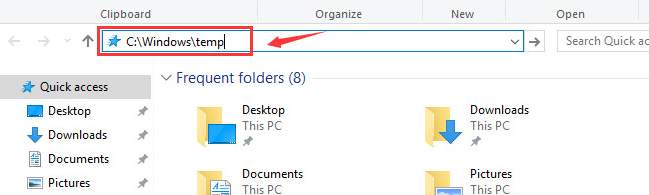
2) In the address box, type in
C:\Windows\temp and press
Enter.
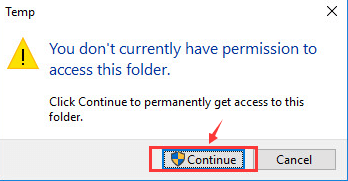
3) If you’re prompted about administrator permission, click
Continue.
4) You’ll see many temp files here in this folder. Press
Ctrl + A at the same time to select all the files, then right-click and click
Delete.

5) Now, re-connect to the network. See if the problem persists.
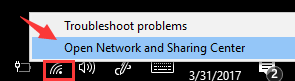
1) Right-click the network connection icon at the bottom right corner and click Open Network and Sharing Center.
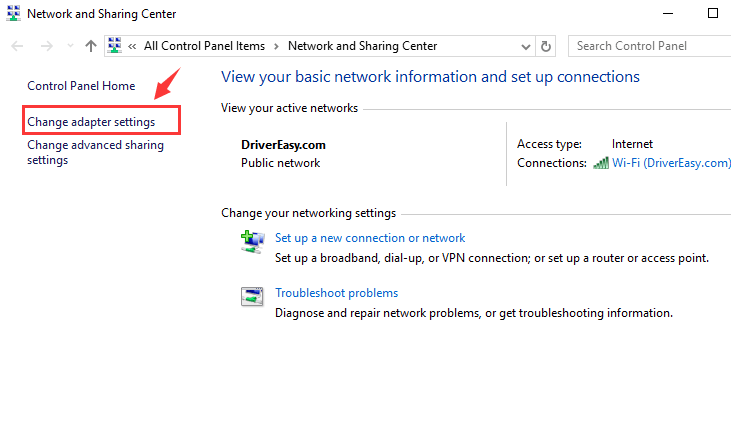
2)
Click Change adapter settings.
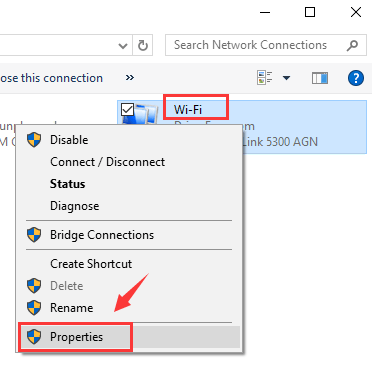
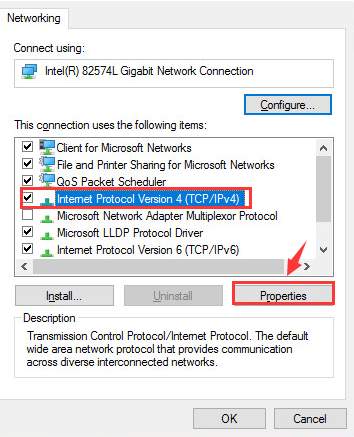
3) Right-click your WiFi adapter and click Properties.
4) Select
Internet Protocol Version 4 (TCP/IPv4) and click
Properties.
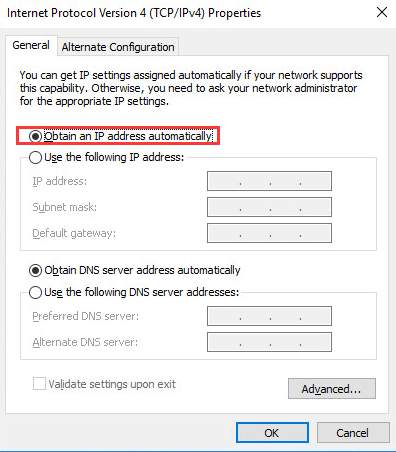
5) Click
Obtain an IP address automatically.
6) If you still can’t connect to the internet, select
Use the following DNS server addresses and fill in the address like the screen shot below:
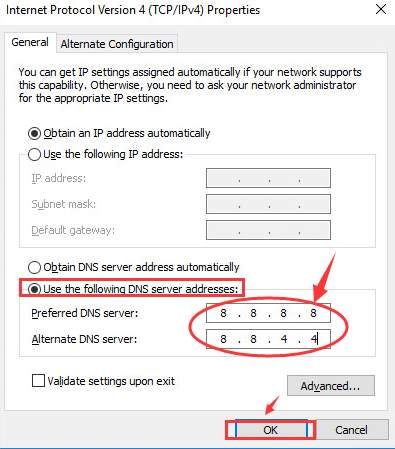 Click OK.
Run Commands in Command Prompt
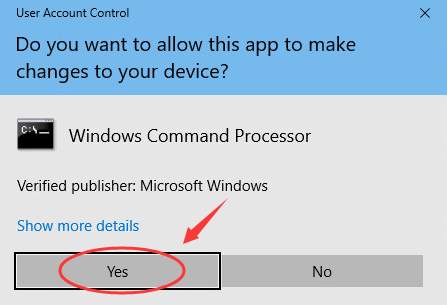
1) On your keyboard, press the Windows key and X at the same time, then click Command Prompt (Admin).
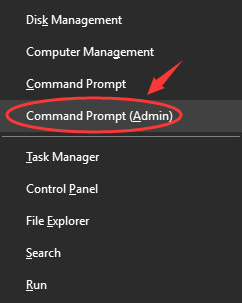
When prompted about the administrator permission, click
Yes.
2) In the command prompt window, type in the following commands. Press
Enter after each command.
ipconfig/flushdns
nbtstat -R
nbtstat -RR
netsh int ip reset c:\resetlog.txt
netsh winsock reset
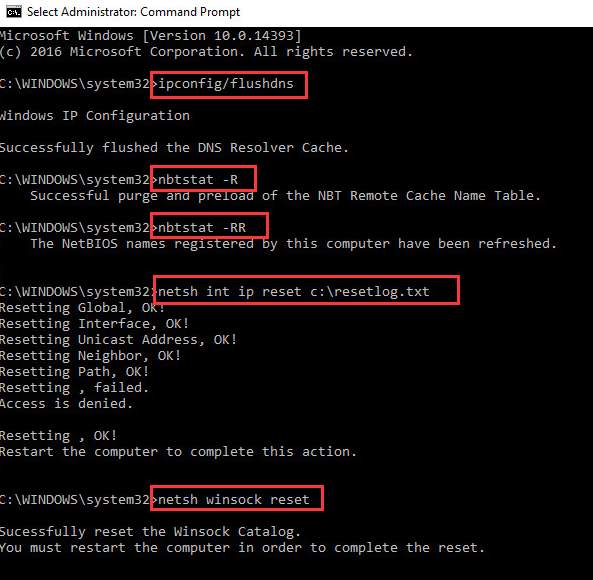
You may need to restart your computer for the changes to take effect.
3) R
ight-click the WiFi connection icon at the bottom right corner and click Open Network and Sharing Center.
4)
Click Change adapter settings.
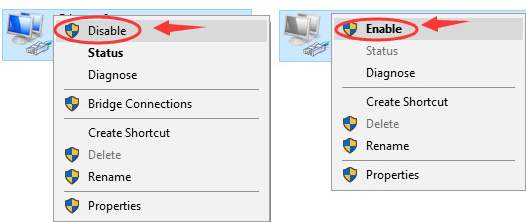
5) Right-click your WiFi adapter and click Disable. Wait for a while. Right-click your WiFi adapter and click Enable.
If the above methods don’t help, we highly recommend you update your network adapters’ drivers.
If you don’t have the time, patience or computer skills to update your drivers manually, you can do it automatically with Driver Easy.
Driver
Easy will automatically recognize your system and find the correct
drivers for it. You don’t need to know exactly what system your computer
is running, you don’t need to risk downloading and installing the wrong
driver, and you don’t need to worry about making a mistake when
installing.
You can update your drivers automatically with either
the FREE or the Pro version of Driver Easy. But with the Pro version it
takes just 2 clicks (and you get full support and a 30-day money back
guarantee):
1)
Download and install Driver Easy.
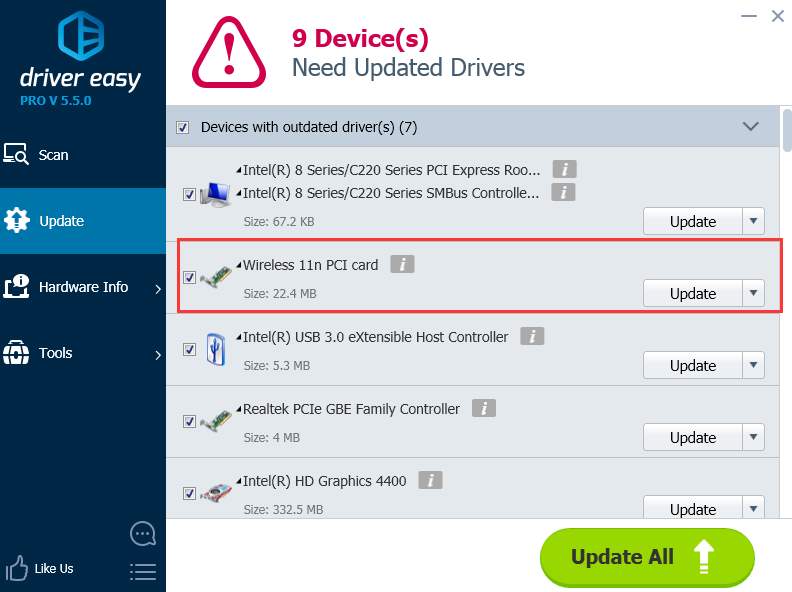
2) Run Driver Easy and click the
Scan Now button. Driver Easy will then scan your computer and detect any problem drivers.
3) Click the
Update
button next to the flagged network card driver to automatically
download and install the correct version of this driver (you can do this
with the FREE version).
Or click
Update All to
automatically download and install the correct version of all the
drivers that are missing or out of date on your system (this requires
the
Pro version – you’ll be prompted to upgrade when you click Update All).

Comments
Post a Comment